 Summer comes with the threat of hurricanes and other serious storms. It is important to have a plan in place to keep your food safe to eat should your home lose power. Follow these tips from the USDA to prepare before the storm hits:
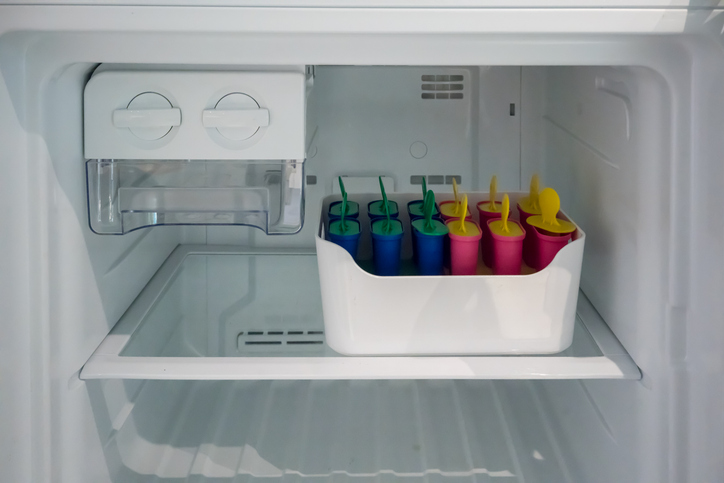
- A fully packed, free-standing freezer (that has remained closed) will stay at acceptably cold temperatures for two to four days.
- Place dry ice, a block of ice or several frozen gel packs in a well-insulated cooler; transfer perishables from the refrigerator to the cooler.
- According to the National Center for Home Food Preservation, a 50-pound block of dry ice will keep the contents of a full, 18-cubic-foot freezer cold for two days.
- The following partially defrosted foods may be safe to eat/refreeze if they still contain ice crystals or have been kept below 40 degrees: beef, veal, lamb, pork, ground meat, casseroles, soups and stews, hard cheeses, juices, flours, nuts, packaged waffles and pancakes, frozen meals/convenience foods.
- If dairy items, poultry, meat, seafood, fresh pasta, fresh greens, eggs, soy meat substitutes and leftovers have been held at 40 degrees or higher for more than two hours, discard them.
- If opened mayonnaise, tartar sauce, horseradish, commercial garlic in oil or other spreads have been held at 50 degrees or above for more than eight hours (or any salads made with those items), discard them.
- The following items are safe (if they had been opened/refrigerated): Peanut butter, jelly, mustard, ketchup, olives, pickles, Worcestershire sauce, barbecue sauce, soy sauce, vinegar-based dressings, fruit, raw vegetables and hard cheeses (including grated).
- Never taste food to determine its safety, and do not rely on odor or appearance.
- Food information hotlines: USDA Meat and Poultry, 800-535-4555; FDA Seafood, 800-FDA-4010; FDA’s Food Safety Information, 888-723-3366.
For more tips, visit the USDA’s Food Safety website.