Given that most people spend 90 percent of their time indoors, indoor air quality (IAQ) is an important aspect of our comfort and well-being at home and at work. Yet understanding IAQ can be a bit overwhelming — especially given all the science, measurements, and acronyms associated with it. Let’s take a deeper look at the ABCs of indoor air quality and the terms and acronyms you might run across when looking for solutions to improve your indoor air.
IAQ: INDOOR AIR QUALITY
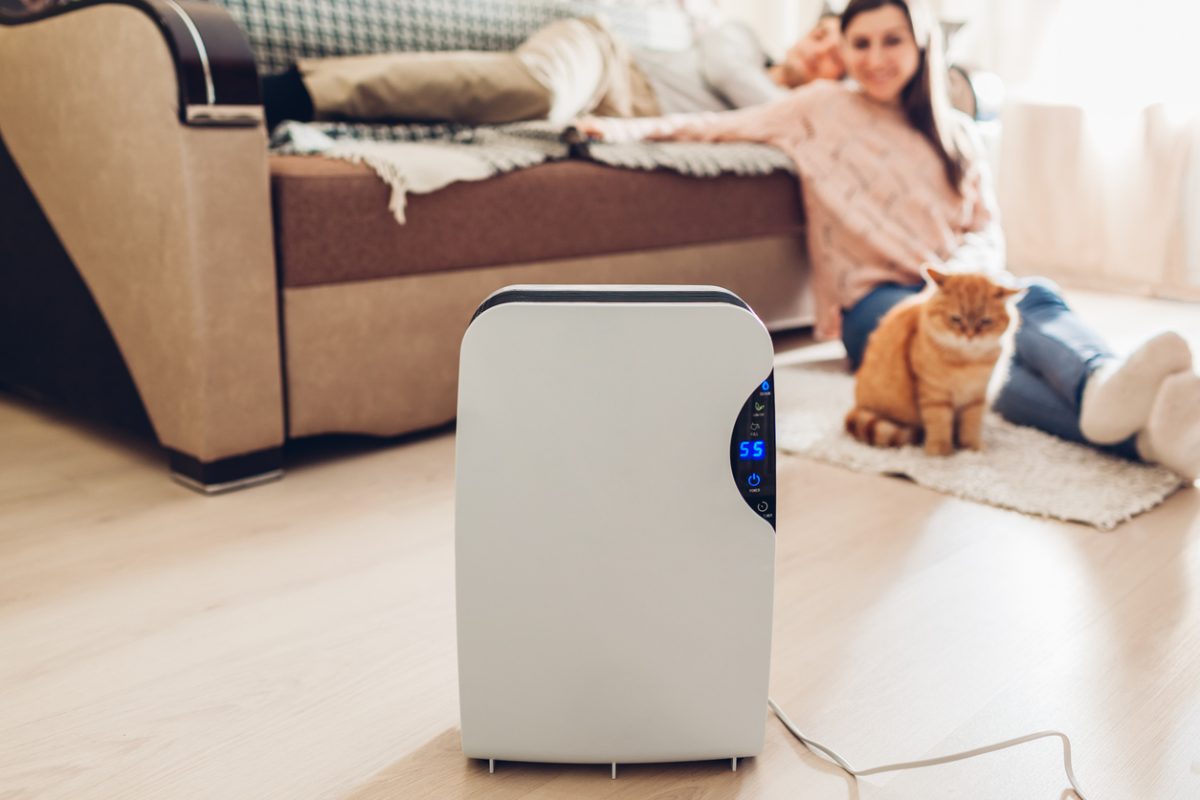
Indoor air quality (IAQ) refers to the quality of air in homes or other buildings, especially as it relates to the health and comfort of the occupants. It encompasses a variety of factors including pollutant levels, humidity and ventilation. Good indoor air quality is essential for maintaining a healthy indoor environment, especially in places where people spend a large portion of their time, like homes, offices, and schools.
According to the Environmental Protection Agency (EPA), levels of indoor pollutants can be two to five times—and occasionally more than 100 times — higher than outdoor levels due to dust, allergens, smoke, pet dander, mold, bacteria, respiratory viruses, and more. Key factors influencing indoor air quality include:
- Pollutants: These can come from a variety of sources:
- Biological contaminants such as mold, dust mites, pollen, and pet dander.
- Chemical pollutants from household cleaning products, paints, building materials or combustion byproducts.
- Particulate matter (PM), which are small particles from dust, smoke or vehicle emissions can also accumulate indoors (learn more below).
- Ventilation: Poor ventilation can lead to a build-up of indoor pollutants. Proper ventilation, either through mechanical systems or open windows, is crucial for maintaining good air quality.
- Humidity: Excess humidity can encourage mold growth, while very low humidity can lead to dry skin and respiratory issues.
Improving IAQ involves proper ventilation, minimizing sources of pollutants, using air cleaners, and maintaining appropriate humidity levels.
CADR: CLEAN AIR DELIVERY RATE
AHAM’s standard for measuring an air cleaner’s efficacy is called the Clean Air Delivery Rate (CADR). Similar to ACH, CADR indicates the volume of filtered air an air cleaner delivers, with separate scores for tobacco smoke, pollen and dust. The higher the CADR number for each pollutant, the faster the unit filters the air.
As a rule of thumb, the CADR of an air cleaner should be equal to at least two-thirds of the room’s area. For example, a 10-foot by 12-foot room has an area of 120 square feet. It would be best to have an air cleaner with a smoke CADR of at least 80. If you are using an air cleaner to manage wildfire smoke, AHAM recommends a smoke CADR equal to the size of the room in square feet.
Using an air cleaner with a higher CADR in that room will simply clean the air more often and faster. If your ceilings are higher than 8 feet, an air cleaner rated for a larger room will be necessary.
ACH: AIR CHANGES PER HOUR
Air changes per hour (ACH) is a key metric for air cleaners that refers to the number of times the entire volume of air in a room is filtered or replaced by the air cleaner within one hour.
ACH is calculated by dividing the volume of air the room air cleaner can process in an hour by the volume of the room. For example, if an air cleaner can process 400 cubic feet of air per minute (CFM), it would process 24,000 cubic feet of air per hour (400 CFM x 60 minutes). If the room has 6,000 cubic feet of air, the ACH would be 4, meaning the purifier can filter all the air in the room four times per hour.
The ACH value depends on the room size and the air cleaner’s capacity. An air cleaner that delivers 5 ACH in a small room might only provide 2 ACH in a larger room, so it’s important to choose an air purifier that matches the room size for optimal air cleaning efficiency. Per the AHAM AC-1 Standard, the suggested room size on the AHAM Verifide label is based on 4.8 ACH. The U.S. Environmental Protection Agency (EPA) Office of Indoor Air Quality recommends 4.8 ACH. IAQ researchers have found that the minimum ventilation recommendation is 3 ACH, and that more ventilation or air changes enhance indoor air quality.
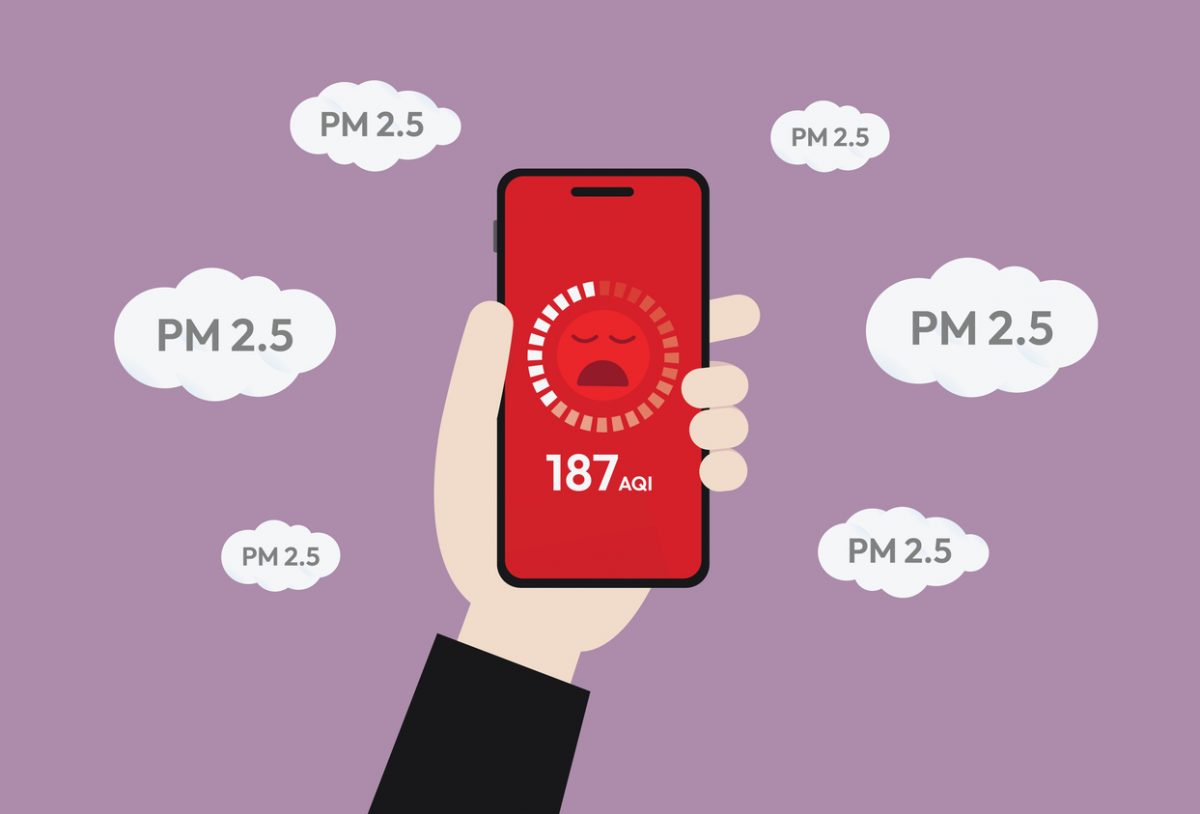
PM: PARTICULATE MATTER
Particulate matter (PM), is a complex mixture of tiny particles and liquid droplets in the air. I tis measured in sizes, such as PM10 and PM2.5. PM10 includes things like dust, pollen, and mold, while PM2.5 includes combustion particles and organic compounds like smoke.
To put the physical size of PM into context, a human hair is about 50-70 micrometers in diameter, and a grain of fine beach sand is about 90 micrometers. PM10 is less than 10 micrometers, while PM2.5 is less than 2.5 micrometers.
HEPA: HIGH EFFICIENCY PARTICULATE AIR
High-efficiency particulate air (HEPA) filters are a type of air filter designed to trap very small particles from the air. To be classified as a HEPA filter, it must meet strict standards set by the U.S. Department of Energy, which require it to capture at least 99.97% of airborne particles as small as 0.3 microns in diameter. These particles include dust, pollen, mold spores, bacteria, and some viruses.
HEPA filters are made of a dense mat of fibers, usually composed of fiberglass, which create a maze-like structure that captures those harmful particles. They are included in a variety of household products, including some models of air cleaners and vacuums.
ABOUT AHAM VERIFIDE
Portable room air cleaners represent the quickest, most accessible option for improving indoor air quality. Air cleaners can filter out harmful particulates like tobacco smoke, dust, and pollen, making the air your family breathes cleaner and healthier.
But not all air cleaners are the same. When you’re ready to purchase an air cleaner, always look for the AHAM Verifide® mark. Room air cleaners certified through the AHAM Verifide program have been rigorously tested by an independent laboratory to ensure the product will perform to the manufacturer’s product claims for the suggested room size. The AHAM Verifide mark can be found on product packaging.
To find AHAM Verifide® room air cleaners, use AHAM’s online searchable directory to locate the model that’s right for you.
Button: Find a Certified Room Air Cleaner Here


 Events like the COVID-19 pandemic and widespread wildfires in the U.S. and Canada have
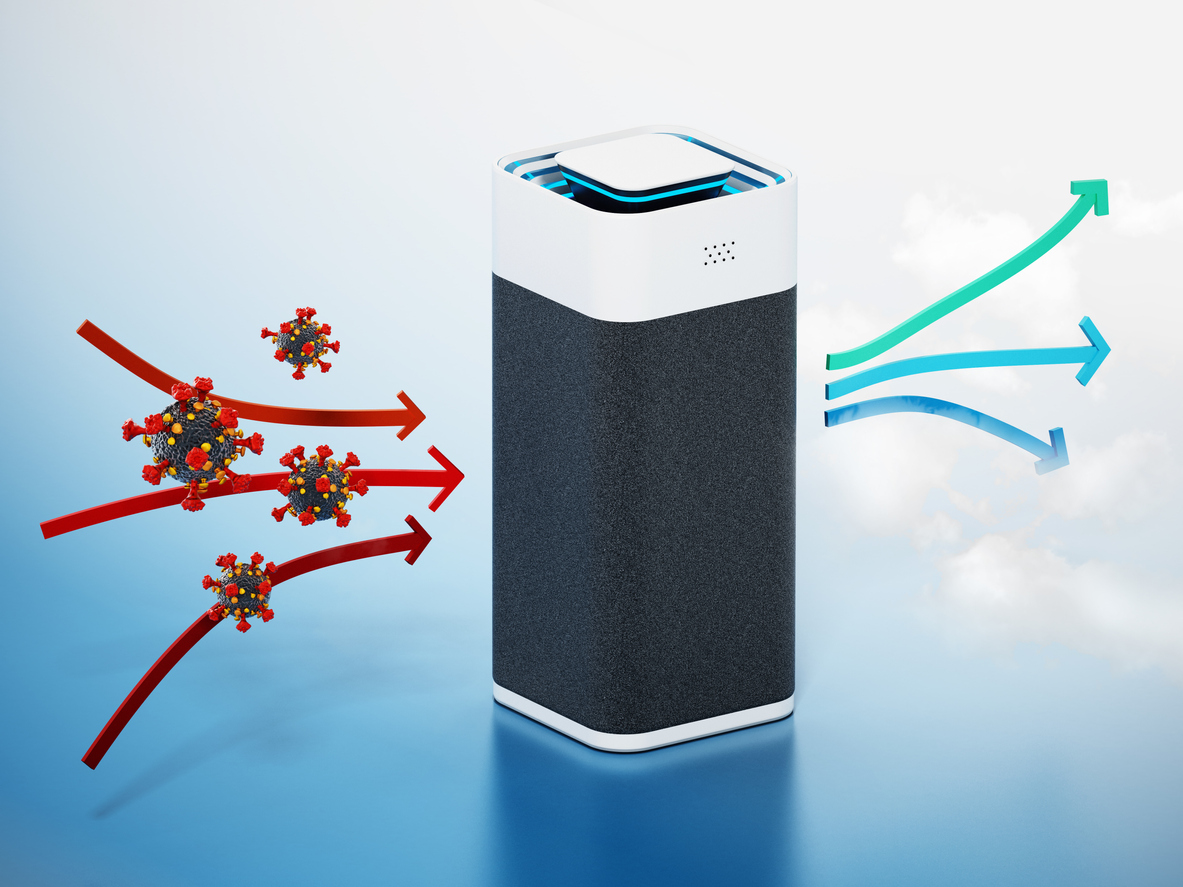


 June is National Safety Month, and it is the perfect time to do a quick review of easy ways to stay safe when you use appliances. From your kitchen to the laundry room, here are 10 appliance safety tips you can use in your home today!
 Cooking’s effect on indoor air quality, and how cooking-related pollutantscan be reduced, has also been getting more attention. All cooking, whether done on gas, electric or induction cooking appliances, emits pollutants. An externally vented range hood