Oven and Range Cleaning tips

Once the table has been cleared after a big meal, you may feel as if you’ve had enough cleaning. Even the most dedicated neat freak might cringe at the thought of cleaning their oven. But putting it off can make cooking more challenging.

Turkey for Thanksgiving Day in the oven

There are many important reasons to keep your oven clean. Over time, residue from cooking and spills can build up and become a drag on oven and range performance. And the “leftovers” that build up on the bottom and sides of your oven can also make the food you prepare taste different. (We’re guessing neither you nor your guests would appreciate the subtle flavors of the charred residue of several meals in their entrée or dessert, but we could be wrong!)

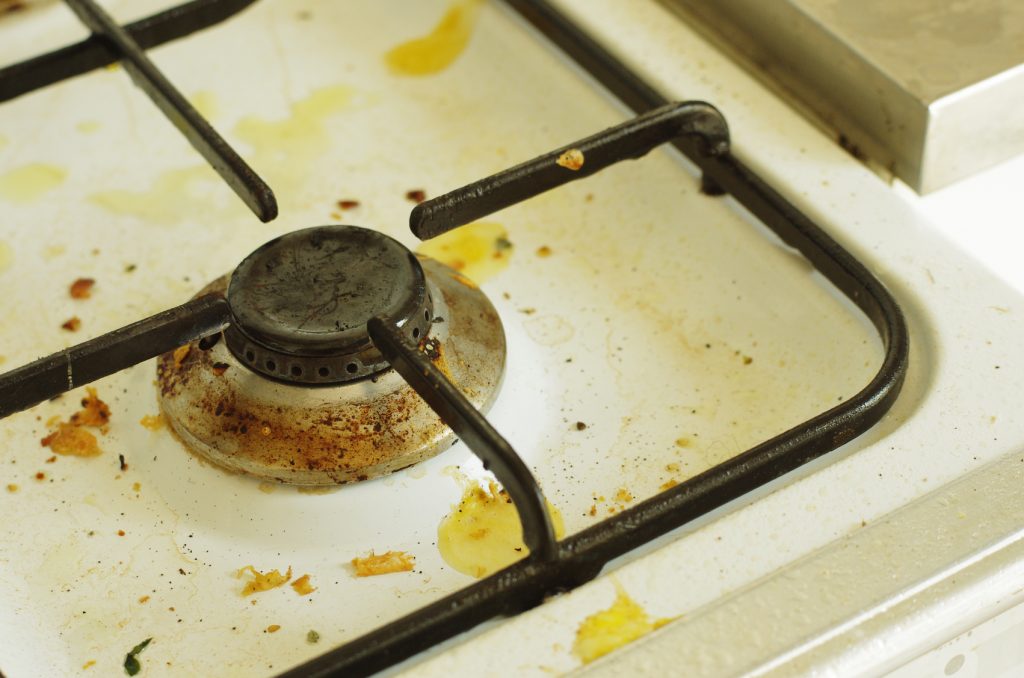
Grease and grime can clog the burner and affect performance. Sugary spills on glass cooktops with traditional elements can damage the glass.

Fall behind on cleaning, and before you know it, your range looks like this.

A very very dirty kitchen!

Instead of waiting until it’s unavoidable, clean your oven and range after every use. That may sound like a lot, but it’s the difference between a guaranteed quick and easy job and one that could require significantly more time and elbow grease. Make cleaning a regular part of your cooking and baking.

Wait until the oven cools before you begin cleaning to avoid burning yourself. Once it has cooled, clean every part of your range. That means the oven walls, glass cooktop, burners, finish, and knobs. Each is made from different materials and therefore may require a different approach. Your appliance’s manufacturer will be able to provide instructions for each.

What to use: This is where it gets tricky. Appliance manufacturers test many cleaners on their ovens and ranges, but it’s impossible to test all of the options that are on the market. Your oven’s use and care manual may have some suggestions, as will the labels of the specific cleaners. You can’t go wrong, however, with warm soap and water or a white vinegar and water solution, which are unlikely to damage any finish. Avoid cleaners with abrasive qualities, as they could scratch the oven’s finish. Some manufacturers recommend carefully using a razor blade to clean stubborn dirt from oven glass.

Technique: Again, consult your appliance’s use and care manual for specific instructions. Avoid steel wool and similar products, which can damage the finish. Go with the grain (not in a circular motion) to avoid scratching, particularly if your oven has a stainless steel finish. That could take a while, so be patient.

Self-cleaning: Many ovens offer self-cleaning features. Traditional self-cleaning means the oven will heat to an extremely high temperature—as high as 900 degrees—while the residue is burned off. You will not be able to open the oven during a self-cleaning cycle. Oven racks and all pans should be removed during the cycle. After the cycle is complete and the oven cools, you should be able to easily wipe out the ashes. Many manufacturers are now offering a steam cleaning option as well. These models heat water to a boiling point and utilize steam to soften anything in the oven for easy cleaning.

What’s your best oven and range-cleaning advice?

Refrigerator Organization: Storing and Reheating Leftovers Safely

Once the holiday table is cleared, many home cooks across the U.S. might be left wondering what they’re supposed to do with all of the leftovers. From a simple turkey sandwich  to the more exotic leftover turkey curry or chipotle turkey tostadas, your options for creative post-holiday cooking are limitless. But regardless of how you prepare them, storing and reheating leftovers safely is a must.

Refrigerator organization is a sometimes overlooked aspect of efficient living and food safety. Many people are used to putting items where they best fit. But depending on what you have in your refrigerator, that approach could be putting you and your family at risk for foodborne illness.

Cross-contamination is the primary safety risk from improperly placing foods in the refrigerator, says Lisa Yakas, senior project manager in NSF International’s home products certification program. Harmful bacteria like e-coli and salmonella can come from meats, and raw vegetables can pass on dirt and soil that may harbor harmful organisms from raw vegetables. Bacteria can pass from meat to other foods even if the two aren’t touching if meat juice leaks or drips.

Let’s open the door, peer inside the fridge and see how you can improve your food storage, make your life easier and reduce your risk.

Before (and after) you reorganize any of your foods, however, wash your hands.

If you’re putting any of the foods on the countertop while reorganizing, clean the area before and after.

The basic rules of refrigerator organization are simple.

  • Store meats on the bottom shelves, so any drips won’t fall onto other foods.
  • Store prepared and packaged foods in areas where they won’t touch raw meats, fruits or vegetables.
  • Raw vegetables belong in the crisper, where they won’t come into contact with other foods.

Yakas recommends cleaning out the areas in the refrigerator where meats and raw vegetables are stored at least once a month. Soap and warm water will usually do the job, but check the refrigerators’ use and care manual for specific instructions.

Keep your refrigerator between 37 and 40 degrees Fahrenheit.

Leftover Safety

With food storage a priority in many households under stay-at-home orders, it’s a good time to review the safe storing and reheating of leftovers as well. “As people are kept in their homes, they’re eating at home more,” Yakas says. “As a general rule, leftovers should be eaten or discarded within three to four days. “Freeze it right away if you aren’t going to eat it,” Yakas says.

Foods that have been cooked need to be refrigerated within two hours. Yakas points out that the time frame to refrigerate leftovers could be narrower if the temperature outside is hotter. If you have a large container of leftovers to store, like a big pot of soup or sauce, divide it in to smaller portions for easier storage and faster cooling.

When reheating meats, use a meat thermometer just like you would when cooking it for the first time. Reheat leftovers to 165 degrees to kill any bacteria that may have formed prior to or during storage. Meat should be measured at a thick spot to ensure it has been heated all the way through. If the meat has a bone, take the temperature close to the bone, but not touching the bone. The temperature of bone and fat can be different than that of the meat.

Other food storage tips: Label and date your leftovers and store the oldest near the front of the refrigerator so you’ll know what should be eaten first. Get the most out of what you have on hand so you don’t have to make unnecessary trips to the grocery store.

Tell us how you are managing during this time, and what tips you’ve found most helpful.

About This Blog

HOME for cooking, cleanliness, comfort and care

Categories