Avoid Kitchen Redesign Regret

You thought you had built the kitchen of your dreams. Then you started to notice you were running out of storage space. Or that there isn’t quite enough space on your counter for your portable appliances.

That flashy, trendy style you loved in a magazine might look great, but more important than style is choosing a kitchen design that really works for your needs.

Taking the time to plan properly is the key to avoiding redesign regret, said Alana Busse, lead designer and remodeling specialist for Westside Remodeling in Thousand Oaks, Calif., and president of the National Kitchen and Bath Association’s Central Coast & Valleys chapter said. “There are many people who tell us they want to start next week,” she said. “We tell them we need the proper planning time. Those are the people who later say they should have planned more. They have regrets because they really didn’t think things through. The more time people can spend planning, the happier they are in the end.”

Busse offered these tips to help homeowners plan their kitchen redesign and avoid “redesign regret:”

  • Build in organizational space. Pull-outs for pots and pans, roll-outs for kitchen tools and easily accessible storage areas for your favorite portable appliances should be part of the design, Busse said. It’s one of the areas homeowners might overlook to cut costs, but they sometimes regret that decision, she said.
  • Focus on what you need. “Normally, people redo a kitchen to improve the functionality,” Busse said. “Sometimes when people are trying to follow a trend versus what’s timeless or what they love, it’s not really something they like or what goes with the house. Ultimately, it’s the homeowner who will be using it. If it doesn’t fit their style or needs, they can develop resentment toward it.”
  • Think about your future lifestyle. When planning your redesign, consider how your needs and lifestyle might change. “People who remodeled when their kids were young, or when they didn’t have kids, end up regretting not building in enough storage space, or remodeling just for a look,” Busse said. “Now, their lifestyle has changed to ‘How quickly can I clean this and have two bowls of cereal before sending the kids off to school?’”
  • Know what’s cooking. Cooking habits are a major consideration when planning a redesign. Will you be cooking five-course meals daily, or do you tend to reheat prepared meals? Do you like to bake? Your design should reflect how you cook and include the right appliances for your needs.

Appliances are a major part of both the functionality and look of any kitchen. “Everything has to be designed around the appliances,” Busse said. “They’re what’s going to be used every single day,” Busse said. “Your fridge is on constantly. Your range is the main area you’ll be cooking. Appliances are the whole point of making the kitchen a gathering place.”

Keep these tips in mind when you’re planning a kitchen redesign to make sure you choose the appliances that meet your needs, now and in the future:

  • Give appliances a test run. “I recommend clients test appliances as much as they possibly can,” Busse said. Many manufacturers have showrooms to allow shoppers to try appliances. Take advantage of those opportunities.
  • Build a refrigerator in to the design. Busse has had clients buy a refrigerator before they have their kitchen redesigned. It’s important to choose one that fits with your plans. “People tend to think every fridge is the same, so they buy one first,” Busse said. “That can hurt the design.”
  • Consider your dishes. Do you wash a lot of Tupperware and plastic dishes, or do lean more toward fine china? Choose a dishwasher that’s appropriate for the dishes you use.
  • Make room for portables. If you have a favorite portable appliance, your designer may be able to build a space that gives you easy storage and access. “People should think about their portables,” Busse said. “If you’re going to wind up using the toaster, we’ll design a space for it. Be honest with yourself about which portable appliances you’ll keep. Bread makers you might use only a few times a year, so we don’t need to store it on the counter. But maybe there’s a specific cabinet design we can do for it.”

Keep your freezer frost-free


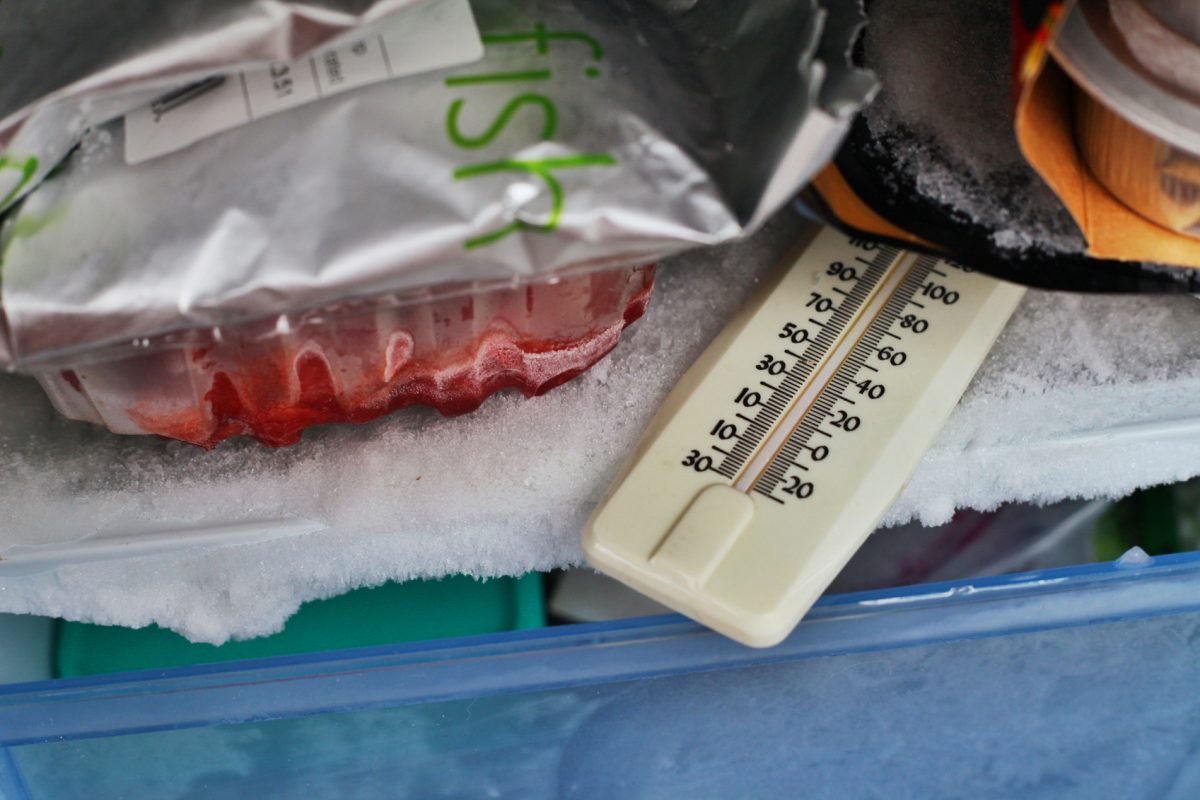
As the weather becomes hotter and more humid, frost is usually no more than a memory. But it can occasionally make an off-season appearance in your freezer. There are reasons why it happens, even in frost-free models.

Newer refrigerators retain colder temperatures than their predecessors. When the refrigerator or freezer doors are opened—especially in hot, humid weather—moisture can enter the door and cause freezer frost. This may also cause moisture to form in parts of the refrigerator. Defrost heaters in newer models also have shorter run times to meet current efficiency standards.

But don’t let the frosty winter throwback put a chill on your summer. Take these steps to keep your freezer frost-free:

•Arrange shelves and food items in a way that allows air to circulate.
•Don’t overload your freezer full or leave it empty. Both can encourage frost formation. It should be at least half full.
•Make seasonal control adjustments. Your user manual may have recommendations on the appropriate settings for hot and cold weather.
•Seal liquids and high-moisture foods stored in the fresh food section of your refrigerator. This will reduce the chance that the moisture will escape into your freezer.
•Open refrigerator and freezer doors as few times as possible.
•Clean your condenser coils twice a year. Check your user manual for proper cleaning procedures. Cleaning the condenser coils can also save energy.
•Check and maintain door gaskets. A good door seal will help keep the warm, moist air where it belongs—outside of your refrigerator and freezer.

Stop throwing away food

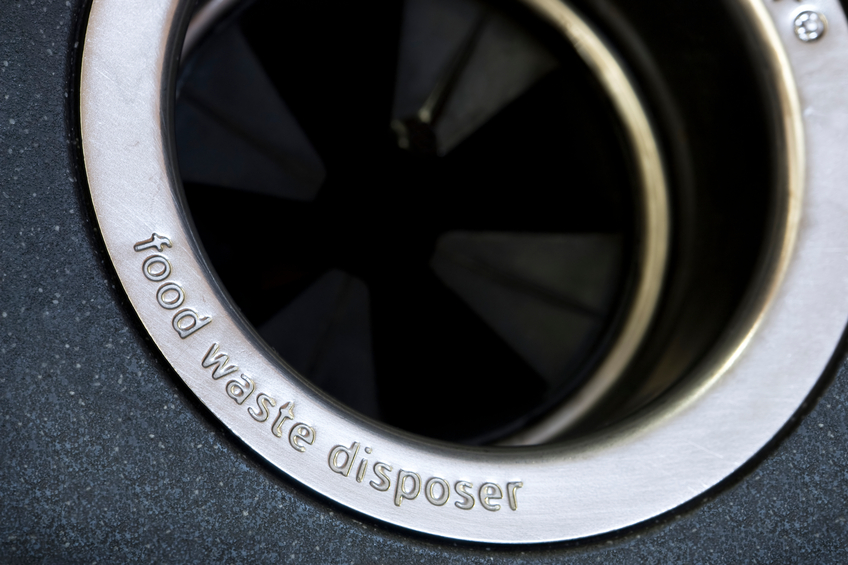
Organic wasteWe’ve already looked at how you can dispose of food scraps without sending them to a landfill. But what about the food that goes bad, or those leftovers you simply didn’t get around to eating? Putting them through your food waste disposer might be an option, but wouldn’t you rather they hadn’t gone bad in the first place?

While we aren’t advocating that you eat spoiled food, there are steps you can take to consume more of the food you purchase and cut down on wasted food in your household. A lot of it comes down to planning and preparation:

  • Watch the calendar: Are you heading out of town soon for vacation or business? Scale down your shopping as your departure date gets closer so you aren’t buying food that you won’t have time to eat, or that will go bad while you’re out of town.
  • Have a backup plan: Power outages can happen in any season, and they’re unpredictable. Know in advance what you’ll do to preserve your food if the power goes out. It might mean asking friends or family to store your food until the power comes back on. If you’re expecting bad weather, placing bags of ice in your refrigerator or freezer can help keep things cool if the power is only out for a short time. If it’s winter and temperatures are cool enough, consider storing your perishables outdoors or in an unheated garage where the temperature is at or near freezing.
  • Can’t find a backup? Donate the food to a local food pantry or shelter. You may need to arrange this in advance, as not every organization will accept every kind of donation. Know where you’ll take the food as part of your emergency plan.
  • Take the temperature: Keep the doors to your refrigerator and freezer closed if you lose power or your refrigerator stops working. Keeping a thermometer inside your fridge can let you know if the temperature inside is staying at or below the recommended 40 degrees Fahrenheit. Call a service provider immediately if the temperature is running high. Follow AHAM’s advice on keeping the bill under control if you need to call for repairs.

Appliance manufacturers know that keeping track of expiration dates can be tricky. A new generation of refrigerators uses cameras and touch screens to help you attach expiration dates to products and see what’s inside the fridge without opening the door. Some can help you keep a shopping list or even order groceries for you.

Food waste disposers cut trash in neighborhoods and landfills

Are you going to eat that? We hope so. If not, you could be throwing away more than a few extra bites. A 2015 survey by the American Chemistry Council put the cost of wasted food at $640 per year, per household.

Regardless of whether the food is scraps, leftovers, uneaten portions or spoiled food, it all becomes food waste once it’s thrown away, and it’s a big problem. Food waste is the biggest single contributor to municipal landfills. According to the EPA, food waste made up 21 percent, or 35 million tons, of discarded municipal solid waste in the U.S. in 2013.

The environmental fallout from food waste can be severe. When food waste breaks down it releases methane, a harmful greenhouse gas. Food waste also attracts pests and rodents when it’s left out in garbage cans or bags. And walking within a few yard feet of a trash bag or can containing food waste on a hot summer day isn’t a pleasant experience.

But when they’re put through a food waste disposer, those leftover scraps can provide environmental benefits in the form of reduced household waste and fewer rodents and insects. Perhaps most importantly, it can make sure you send less food waste to the landfill. Here’s how: Food that is put through a food waste disposer ends up at a wastewater treatment plant, not a landfill. But it isn’t discarded. Instead, it’s used as food for the microscopic organisms that are used to treat wastewater. If this happened in a landfill, the methane those organisms produce would be released into the atmosphere. Many wastewater plants use the methane they capture to help power the treatment facility. Leftover scraps can be turned into fertilizer or soil conditioner.

Several cities around the U.S. have reaped the benefits of food waste disposers that were installed on a widespread scale in some of their neighborhoods. In Philadelphia, residents of the Point Breeze and West Oak Lane neighborhoods reported a significant drop in trash volume—an average of 1.4 pounds of trash per household, per week—after AHAM member InSinkErator installed 175 disposers into homes in those areas. Households in Tacoma, Wash. InSinkErator also installed food waste disposers in neighborhoods in neighborhoods in Tacoma, Wash., Milwaukee and Boston. Participating households reported the following average weekly reductions in waste after food waste disposers were installed:

Tacoma: 1.9 pounds

Milwaukee: 3.3 pounds

Boston: 4.1 pounds

In Philadelphia, residents also reported fewer problems with pests and rodents after the food waste disposers were installed, and said they were putting out one fewer trash bag per week.

How to keep appliance repair costs under control

Woman Looking At The Repairman Repairing DishwasherAppliances play a major role in your life, and it can be stressful when they break down. But when they do, you want a quick, inexpensive repair. That may not always be possible, depending on the nature of the issue and service required to address it. But how you initially respond can reduce the chance that you’ll be surprised by a hefty repair bill.

First, it helps to understand how your bill is calculated. Time spent on the repair is not the only factor. There are a number of costs that go into hiring a repair technician, including:

  • Tools and testing equipment
  • Parts
  • Vehicle maintenance, gas and insurance
  • Training
  • Clerical staff

Some of the bill you’ll receive following a repair visit has already been determined before the technician arrives at your home. That might include a trip charge or diagnostic charge, which many technicians charge to travel to your home to investigate the issue. Once the technician arrives, many companies bill for time in 15-minute intervals.

Before you call, check to see if the issue you’re having with your appliance can be resolved without a technician’s visit. Make sure you check power sources, plugs and fuses before making a service appointment.

If you still need help, check to see if your appliance is still under warranty. If it is, some or all of the costs of repair may be covered, depending on the nature of the problem. However, you’ll need to choose an authorized service technician—a service branch owned by the manufacturer or an independent business recognized by the manufacturer to do in-warranty service on the product. Working with a repair technician who is not authorized could cost you in the form of a voided warranty and a much larger bill for parts and service.

It’s a good idea to select an authorized service technician even if your appliance is no longer under warranty. They are most likely to be familiar with your appliance and will likely have access to the tools and parts necessary to make the repair.

How to find a technician: Check the appliance’s use and care manual or call the manufacturer’s customer service line for a list of authorized technicians. Many manufacturers also include lists of authorized service technicians on their websites.

When you call, have the following information ready:

  • Any receipts from previous repairs. These can serve as proof of excessive service or related problems and may help in obtaining manufacturer assistance should problems occur after the warranty expires.
  • Appliance model number
  • Appliance serial number
  • Purchase date

After the visit: Keep your receipt and stick to the technician’s instructions on any preventive measures to reduce the chance that the problem will happen again.

About This Blog

HOME for cooking, cleanliness, comfort and care

Categories